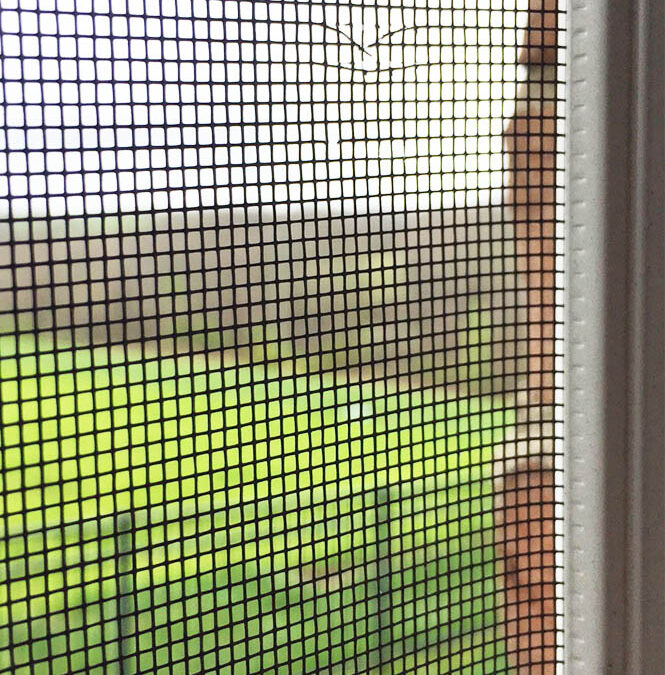
A damaged window screen can be frustrating, but the good news is that you don’t always have to call a professional for window screen repair in San Marcos. With the right tools and a bit of patience, you can fix most screen issues on your own. Whether you’ve got a small tear, a loose frame, or even a completely torn screen, this DIY window screen repair guide will walk you through the process step-by-step..
Why Repair Your Window Screen?
Before diving into the repair process, you may wonder why it’s worth fixing your window screens yourself. Repairing a window screen has several advantages:
- Cost-Effective: Hiring a professional to replace or repair a screen can be expensive. DIY repairs are much more affordable, especially if you already have some basic tools at home.
- Quick Fix: DIY repairs are generally faster, allowing you to get your windows back in working order without much downtime.
- Customization: Repairing your screen means you can choose the material, color, and size that best fits your needs.
Materials You’ll Need
Before starting your window screen repair in San Marcos, make sure you have the following materials on hand:
- New screen mesh (fiberglass or aluminum, depending on your preference)
- Screen spline (the rubber material that holds the screen in place)
- Spline roller (a tool to press the spline into the frame)
- Utility knife or scissors
- Flathead screwdriver
- Measuring tape
- Scissors or tin snips (if you need to cut the screen to size)
Step 1: Remove the Screen Frame
The first step is to carefully remove the damaged screen from the window frame. If it’s a hinged screen, simply lift it off the window. For fixed screens, you may need to use a flathead screwdriver to gently pry the screen away from the window. Once removed, place the screen on a flat surface where you can work on it comfortably.
Step 2: Remove the Old Screen
Next, you’ll need to remove the old screen material. Use the flathead screwdriver to pry out the old spline (the rubber material that holds the screen in place). Work your way around the entire frame, being careful not to damage the frame itself. Once the spline is removed, the old screen material should come off easily.
Step 3: Measure and Cut the New Screen
Before you install the new screen, measure the dimensions of your frame to ensure the new screen fits. Add about 2-3 inches to each side of the screen to allow for stretching and trimming. Lay the new screen mesh over the frame, ensuring it covers the entire frame with some extra overlap.
Using your scissors or utility knife, trim the screen to fit, leaving the extra material around the edges. This will ensure you have enough mesh to secure the screen in place.
Step 4: Install the New Screen
Once the new screen is cut to size, it’s time to install it. Lay the screen over the frame and start pressing the spline into the frame along one edge using the spline roller. As you roll, make sure the screen is taut but not overly stretched—this will prevent wrinkles and ensure it fits tightly within the frame.
Continue working your way around the frame, keeping the screen taut and pressing the spline into the groove with the roller. Be sure to keep the screen centered and straight as you go.
Step 5: Trim the Excess Screen
Once the spline is securely in place, use your utility knife or scissors to trim the excess screen material. Leave about 1/8-inch of overlap, and carefully cut along the outer edge of the spline. Take your time to make sure the edges are neat and even.
Step 6: Reinstall the Screen Frame
Now that your new screen is securely in place, it’s time to reinstall the frame back into the window. For hinged screens, simply align the frame with the hinges and secure it. For fixed screens, slide the frame back into the window track, making sure it fits snugly.
Step 7: Test the Screen
Finally, test your window screen to make sure it works as expected. Open and close the window to ensure the screen stays in place and does not sag or shift. Check for any gaps around the edges and make adjustments if necessary.
Tips for Successful DIY Window Screen Repair in San Marcos
- Use the right screen material: Choose a screen mesh that is durable and appropriate for your needs. Fiberglass is lightweight and easy to work with, while aluminum is more durable and resistant to tearing.
- Stretch the screen evenly: Ensure the screen is evenly stretched across the frame. This will prevent wrinkles and make sure the mesh remains taut.
- Don’t over-stretch the screen: Stretching the screen too tightly can cause it to tear or wear out more quickly. Keep it taut, but not overly tight.
Repairing your window screen is a simple and cost-effective solution to restore your windows to their original condition. Whether you have a minor tear or need a complete screen replacement, this DIY guide gives you all the steps you need to get the job done right. Not only will you save money, but you’ll also have the satisfaction of knowing you’ve fixed the problem yourself.
If you’re not comfortable with DIY repairs or simply don’t have the time, professional San Marcos window screen repair services are always available. Contact Mobile Speed Screens at 760-525-0990 for expert help with all your window screen needs in San Marcos. Their experienced team can quickly and efficiently repair or replace any damaged screens, restoring comfort and security to your home.

